

Measure fit, adjust settings, and test posture and pressure for 20 minutes.
If you want a chair that protects your back and boosts focus, you need a clear plan. In this guide, I show how to test home office chair ergonomics before buying, step by step. I have fitted teams and home offices for years, and I have seen what works. You will learn quick checks, pro tips, and what to avoid, so you can pick a chair that truly fits you.
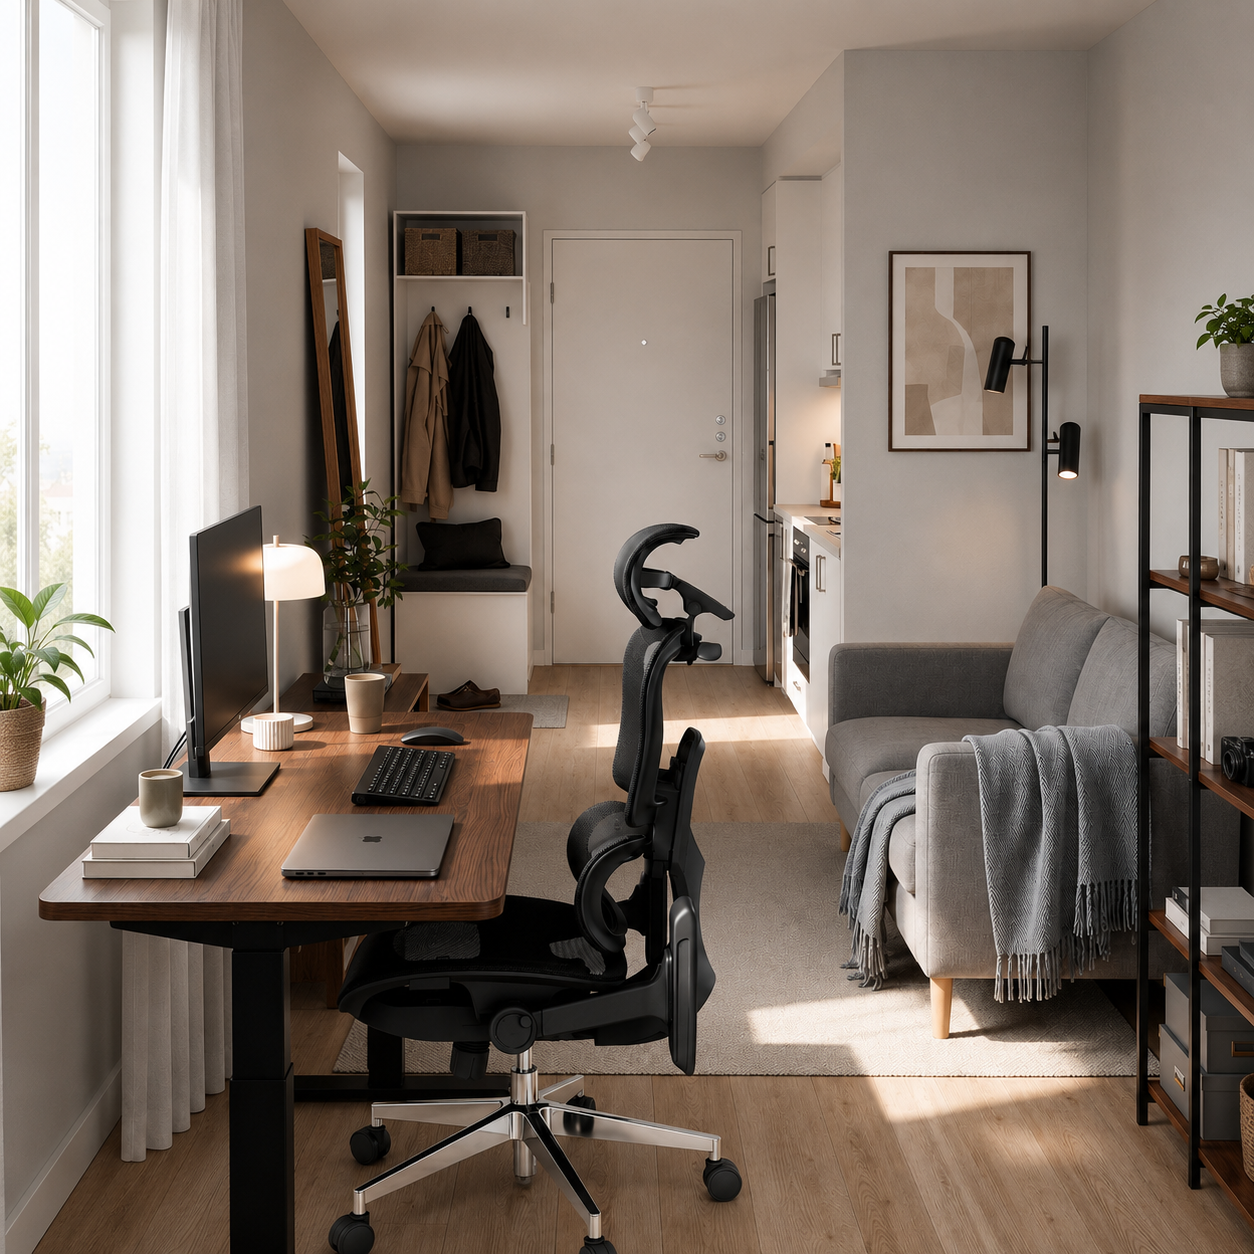
How to test home office chair ergonomics before buying: what ergonomics really means
Ergonomics means the chair adapts to your body and your work. It should support neutral posture, reduce pressure on joints, and let you move. Good setups follow basic human factors and safety ideas used by OSHA and BIFMA. In simple words, the chair should help you sit easy and switch postures fast.
- Keep feet flat, knees at 90–110 degrees, and hips level or slightly above knees.
- Support the lower back curve around L3–L5.
- Keep shoulders relaxed, elbows near 90 degrees, wrists straight.
- Allow small moves all day: recline, shift, swivel, and glide.
I will show how to test home office chair ergonomics before buying so these goals become real in the store, not just on a spec sheet.

Pre-shop checklist: measure yourself and your setup
You will test better if you bring a few facts and tools. Do this first.
Measurements to note:
- Standing elbow height to set armrest range.
- Popliteal height (floor to back of knee) to set seat height.
- Thigh length (hip to back of knee) to set seat depth.
What to bring:
- Your laptop and an external mouse, if you use them.
- The height of your desk at home.
- A tape measure and a notepad.
With these numbers, you can practice how to test home office chair ergonomics before buying against your real world, not a guess.
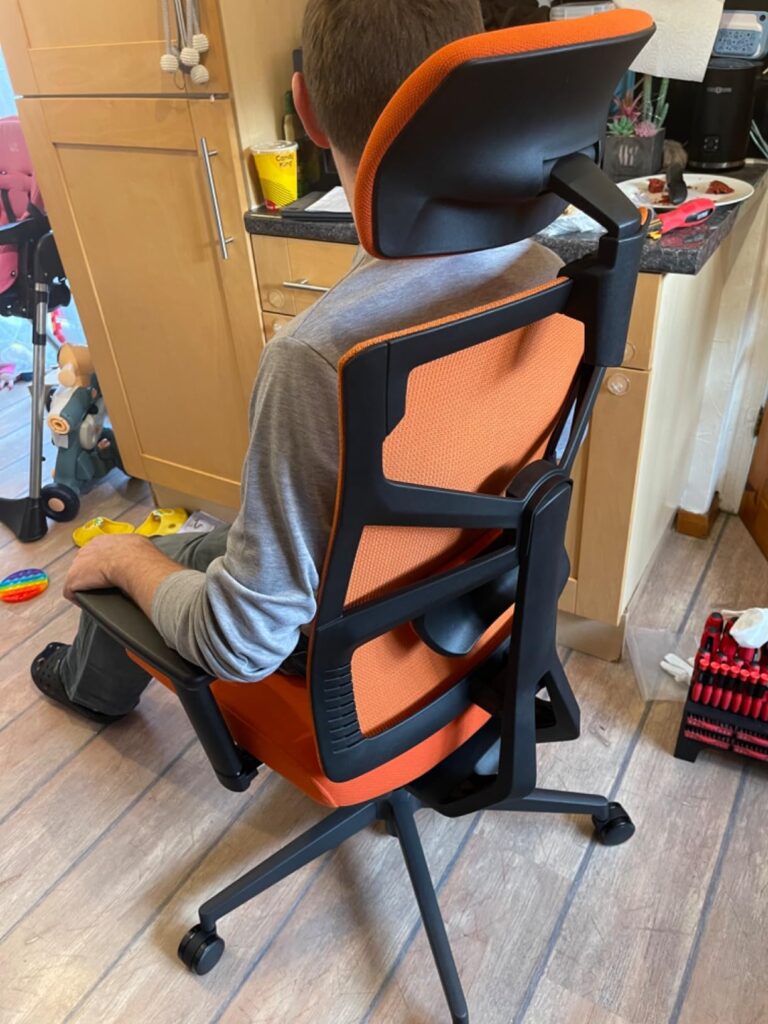
The 12-minute in-store test: a simple flow
Use this script. It works. I use it when I buy for clients.
Minutes 0–2: quick fit
- Set seat height so feet are flat and thighs are level.
- Slide seat depth so you have two to three fingers between seat edge and the back of your knee.
Minutes 2–5: back and lumbar
- Raise lumbar so it nestles in the small of your back.
- Set backrest angle to 100–110 degrees for light recline.
Minutes 5–8: arms and shoulders
- Raise armrests so elbows rest at 90 degrees and shoulders drop.
- Check arm width so arms hug close to your torso.
Minutes 8–12: movement and pressure
- Recline three times. It should be smooth and controlled.
- Sit still for one minute. Note any hot spots under thighs or tailbone.
- Spin and roll. The chair should glide, not scrape.
This is how to test home office chair ergonomics before buying with focus and speed.
 headrest”
style=”max-width: 100%; height: auto; border: 2px solid black; border-radius: 10px; display: block; margin: 0 auto;”
loading=”lazy”
/>
Fit checks: seat, back, arms, and headrest
Seat height and depth
- Height should cover about 16–21 inches for most users. Short or tall users may need more range.
- Depth should let you sit back while keeping two to three fingers of space at the knee.
Backrest and lumbar
- Lumbar support should meet your natural curve, not poke it.
- The back should support at least to the mid-shoulders for desk work.
Armrests
- Height should match your elbow height. This takes load off your neck.
- Width and pivot should let you keep elbows close and wrists straight.
Headrest
- If you read or call a lot, test a headrest. It should catch the base of your skull, not push your head forward.
These fit checks are the core of how to test home office chair ergonomics before buying.

Adjustment tests: range, ease, locking, and tension
A chair is only as good as its adjustments. If the levers are hard to find or stiff, you will not use them.
Test these points:
- Range: Each adjuster should have enough travel to match your body.
- Ease: You should tweak height or depth with one hand while seated.
- Locking: You should lock and unlock tilt without a jerk.
- Tension: You should recline with light core effort, then return upright smoothly.
Look for terms like synchro-tilt, forward tilt, and seat slide. They add comfort windows. As you learn how to test home office chair ergonomics before buying, you will feel the difference fast.
Comfort and pressure tests: hotspots, circulation, and breathability
Pressure and heat are early signs of a bad fit.
Try these:
- Tailbone check: Sit back fully for two minutes. Any sharp pressure means the foam is too firm or the seat slopes wrong.
- Thigh check: Make sure the seat front is soft and rounded. Numb legs mean too much pressure on the thighs.
- Breathability: Mesh should support without sag. Foam should rebound, not bottom out.
Shift often during your test. Dynamic sitting is part of how to test home office chair ergonomics before buying that many people skip.
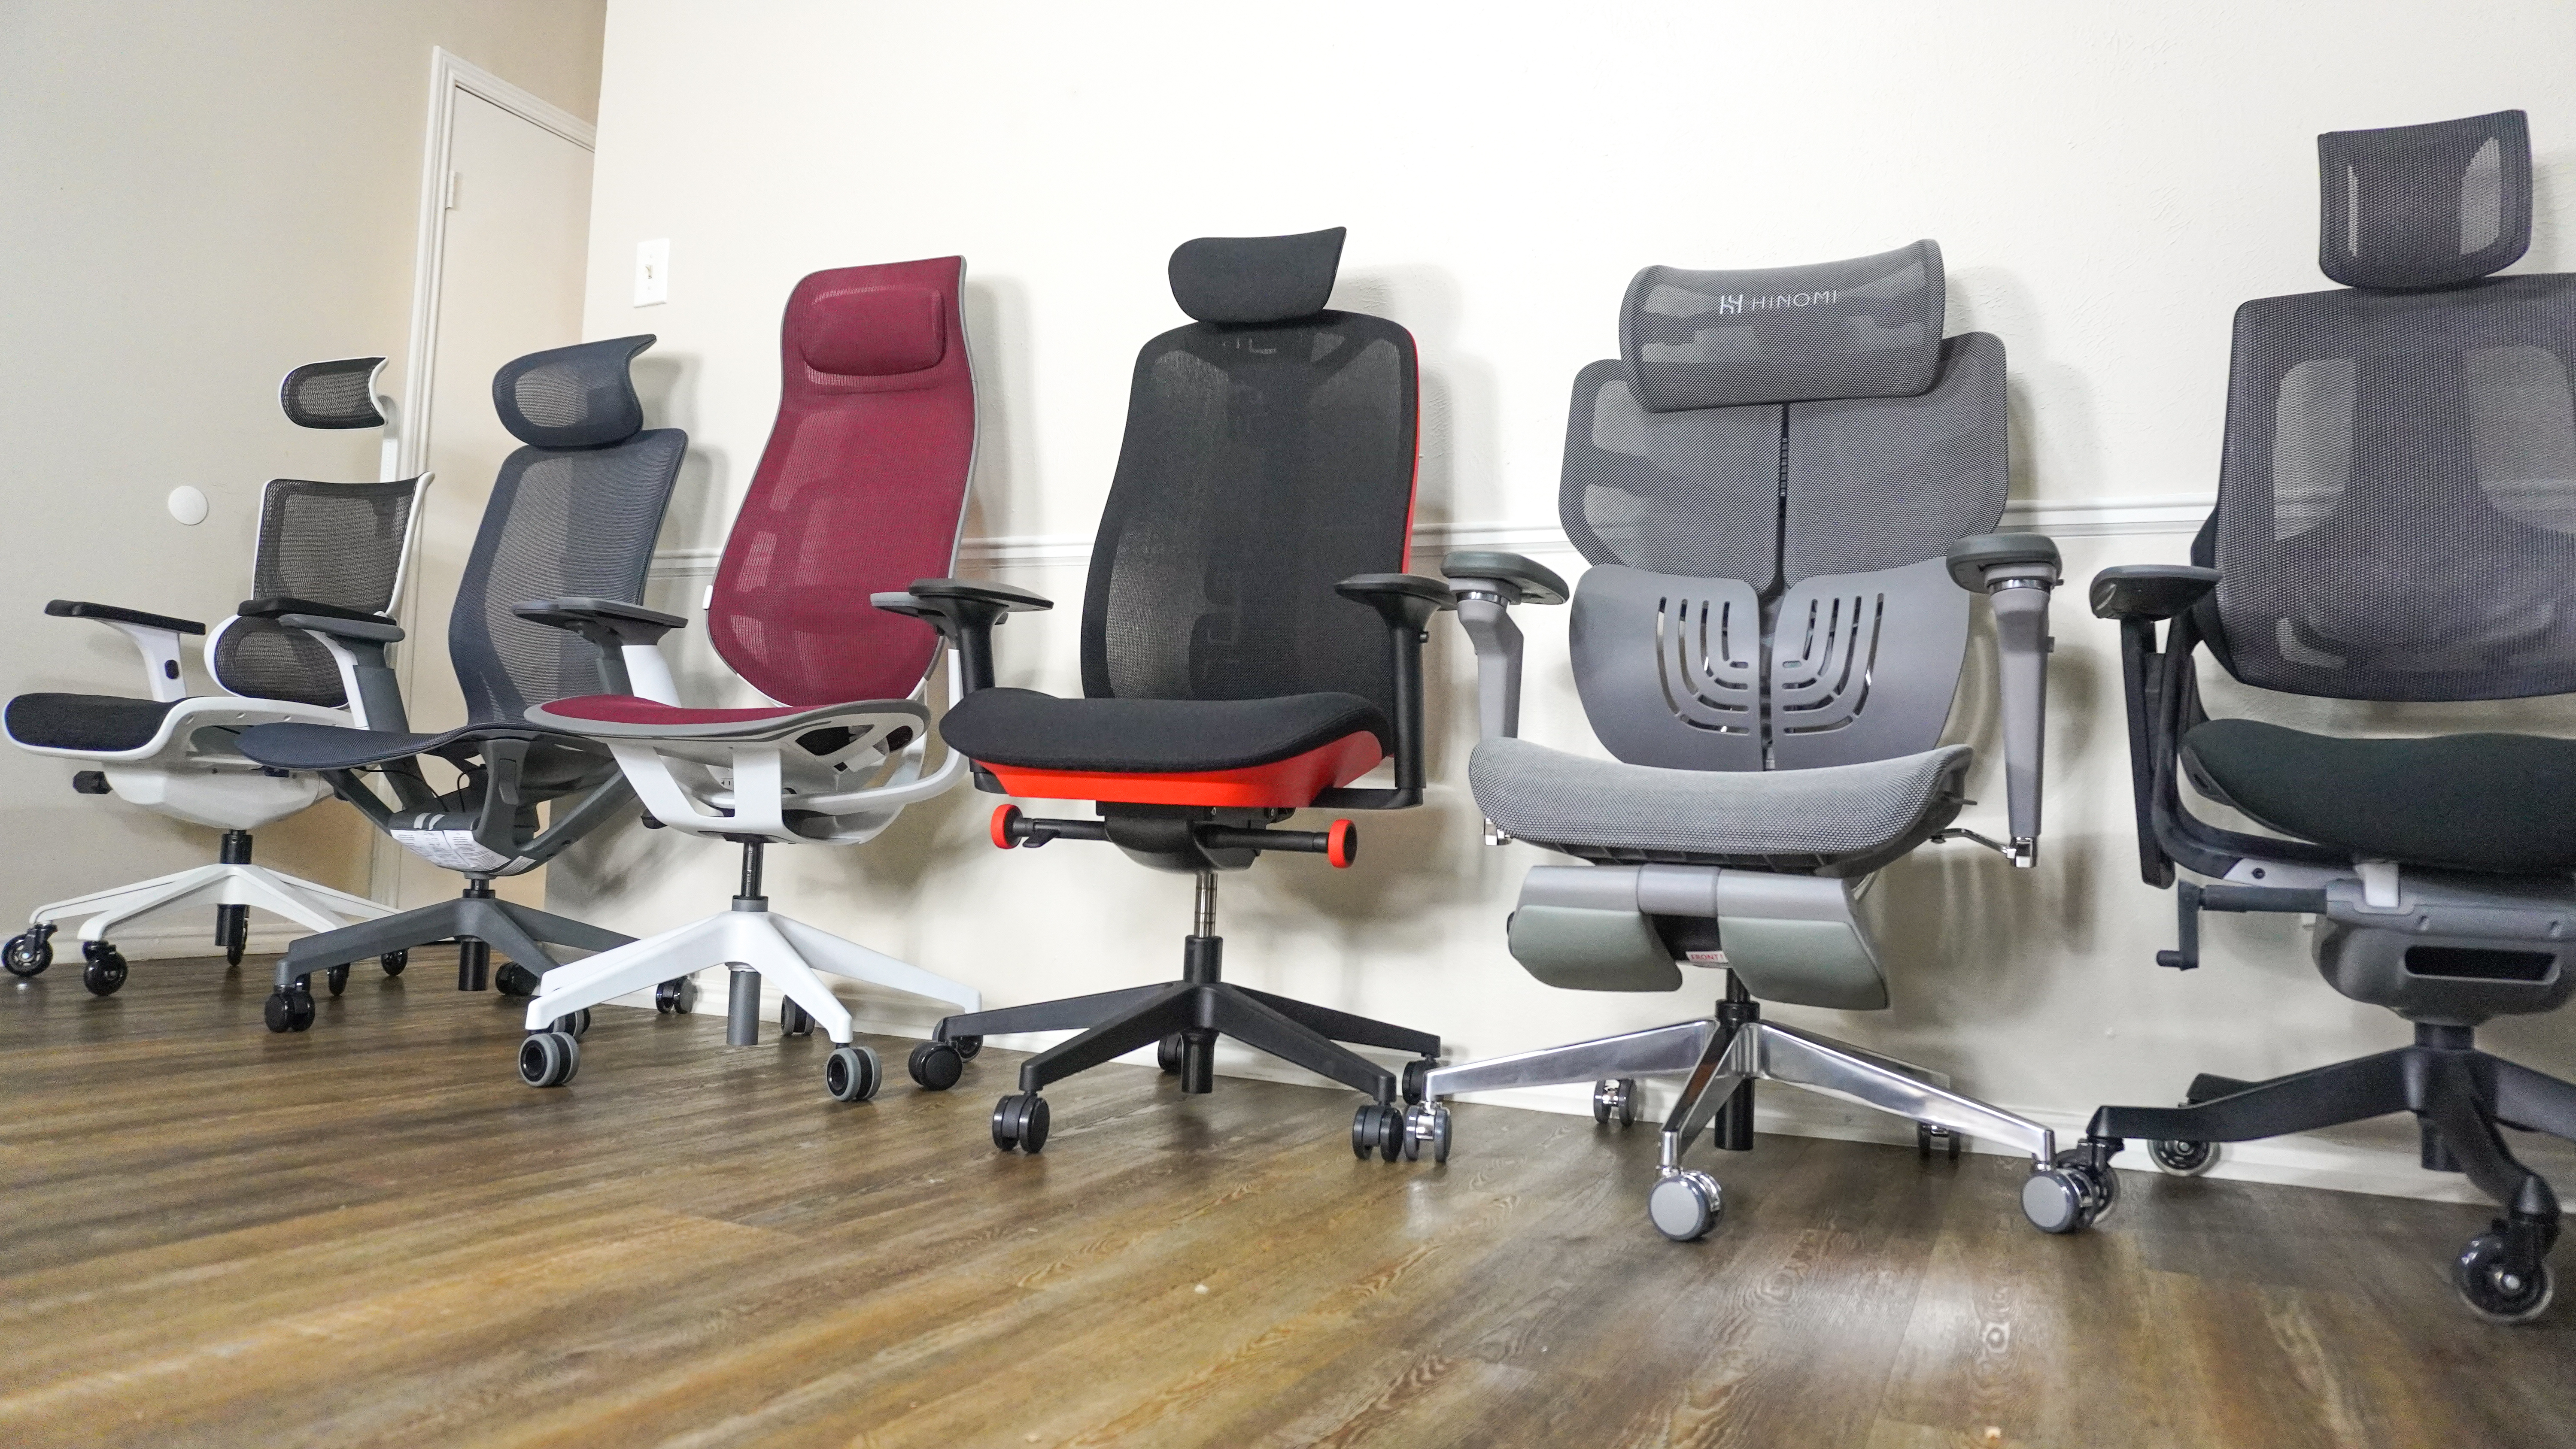
Build quality and safety: what to look for
A solid chair feels planted and quiet. Quality shows up in the base, casters, and gas lift.
Check:
- Base: Five-star base made of steel or high-grade nylon. No flex or creak.
- Casters: Smooth roll on the store floor that matches your floor type at home.
- Cylinder: Gas lift should not hiss or drop. Look for high weight ratings.
- Standards: BIFMA X5.1 or EN 1335 test claims signal durability. Longer warranties add trust.
These cues keep you safe and help you decide how to test home office chair ergonomics before buying with confidence.

Try-before-you-buy tips for online shoppers
No showroom? You can still test well.
Do this:
- Order from brands with 30-day or longer trials and low return fees.
- Unbox with care so returns are easy.
- Test across full work blocks, not five minutes. Take notes at hour one and hour three.
- Film your posture from the side to check angles.
This remote plan mirrors how to test home office chair ergonomics before buying in store.

Red flags that mean walk away
Watch for these signs.
Common issues:
- Fixed arms with no height or width change.
- No seat depth slide, which can harm circulation.
- Tilt that only rocks, with no tension control.
- Lumbar that moves but does not stay put.
- Thin foam that compresses to the base.
If you see two or more red flags, restart how to test home office chair ergonomics before buying with another model.
Budget vs premium: what to test at each price
Under $250
- Aim for seat height range, basic tilt with tension, and decent foam.
- Skip headrests and fancy arms if they are flimsy.
$250–$700
- Add seat depth, 3D or 4D arms, and better lumbar.
- Expect smoother tilt and stronger frames.
$700+
- Look for synchro-tilt, fine lumbar control, premium mesh, and long warranties.
- Precision matters. Small tweaks should be easy.
Match your checks to your bracket. That is smart use of how to test home office chair ergonomics before buying.
Maintenance and setup after purchase to validate ergonomics
Your test is not done when the box arrives. Set up the chair with your desk.
Steps:
- Set chair height, then set desk or keyboard height to keep elbows near 90 degrees.
- Align monitor so your eyes meet the top third of the screen.
- Recheck seat depth after a week as foam settles.
- Mark your settings so others do not change them.
This final pass closes the loop on how to test home office chair ergonomics before buying and keeps the fit right.
Frequently Asked Questions of how to test home office chair ergonomics before buying
What seat height should I look for?
Most people do well with 16–21 inches of seat height. Very tall or short users may need more range or a footrest.
How long should I test a chair in store?
Sit for at least 10–15 minutes and move through recline and tasks. Hot spots often show up after a few minutes.
Do I need adjustable armrests?
Yes, height and width changes help relax your shoulders and protect wrists. Fixed arms can force bad angles.
Is mesh or foam better?
Good mesh supports and breathes well, while quality foam cushions and shapes to you. Poor versions of either feel harsh or saggy.
What standards signal a safe, durable chair?
Look for BIFMA or EN 1335 claims and clear weight ratings. Longer warranties and serviceable parts add trust.
Can I make a non-adjustable chair ergonomic?
You can add cushions or a footrest, but it is a patch. True fit comes from proper adjustments.
How do I test lumbar support fast?
Slide the lumbar to the small of your back and sit back. It should fill the curve without poking.
What tilt angle is best for work?
A slight recline around 100–110 degrees reduces back load. Switch between upright and recline during the day.
Conclusion
A great chair fits your body, your desk, and your day. Use clear steps to measure, adjust, and feel for pressure and movement. That is the heart of how to test home office chair ergonomics before buying. Try the 12-minute script, note any red flags, and trust what your body tells you. Then set it up right at home and check again after a week.
Ready to shop smarter? Save this guide, test two or three models, and share what worked for you in the comments.


